5 Hospitality Photography Tips
Photography can make or break a customer’s decision to purchase anything from your business. The same holds true to those in the business of hospitality. So what can you do in order to take the best possible photos for your marketing campaigns? Here are 5 tips to take outstanding photos of your lodge:
1) Stage Your Property
To make your property looks its best, people often times, will have their property professionally staged. If this is something that you can not have done, here are some guidelines as to what to do to make your property as photogenic as possible:
- Blinds should me lowered all the way to the bottom of the window with slats at a 45-degree angle upwards. This will brighten the ceiling which then will reflect the light down into the room giving the room nice even lighting.
- Turn on all lights and gas fireplaces.
- Turn lampshade seam away from the camera.
- Watch for your reflection in windows, TVs, mirrors and other reflective surfaces.
- Shower curtains should be partially open to show off tile work and fixtures.
- Make sure bedding, chairs, pillows, and other furniture are arranged neatly.
- Remove anything from your photo that can detract from capturing aesthetically pleasing photos. This includes: cleaning products, trashcans, bath mats, remote controls, clothing, etc.
2) HDR Imaging
High Dynamic Range photos are one of the best ways to showcase your property. HDR allows you to expose all aspects of your shot. While you are able to take a well enough single shot of your lodge, bracketing your shots for HDR will open new opportunities to showcase specific features that otherwise might be difficult to capture. For instance, let’s say you have a room with a spectacular view that you want to show from inside the room. Digital cameras can’t expose for bright outside light while correctly exposing for interior light. We overcome this challenge by taking several different exposures of the same shot and combining them into one HDR image. The end result will show the beautiful outside view from the room while still correctly exposing the rest of the room.
3) Camera Settings
Assuming that you are shooting with a DSLR, here are some basic camera settings that will help you capture stunning photos:
- Mode: Aperture Priority
- Bracketing set at 5 exposures
- Aperture at F8 or higher
- ISO: 800 or lower
- White Balance set to Auto
Using these settings will help you ensure that everything is in focus and you images have little to no noise visible.
4) Rule of Thirds
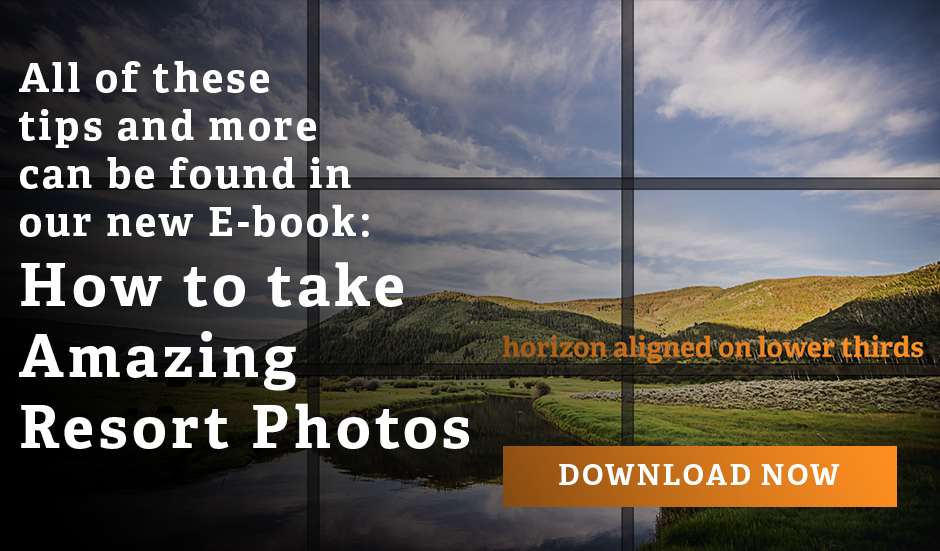
While knowing the right camera settings will greatly improve your photos, composition is ultimately what will make your shots more appealing to your audience. The rule of thirds helps us determining how to set up your shots. Imagine that your image has 2 verticle lines and 2 horizontal lines that cut your image into 9 pieces. These are your thirds. When taking shots of landscapes, determine what is more interesting, the sky or the land. Let’s say that your sky is more interesting in this shot, you will want to place the horizon on the bottom of those two lines to compose your shot for your landscape. From there, take your main subject (Trees, people, lodge, etc.) and place it on the left or right vertical line. As a guideline, if your subject is facing left, place your subject on the right line or the opposite if your subject is facing right.
5) Golden hour is the best time for photos
Photographers know that sunrise and sunset are the best times to take photos, but let’s take a look at why. When the sun is low in the horizon, it casts very soft light that adds dimension to your shot. The low sun causes objects in your photo to cast long shadows which help the subjects to “pop” out of your photos. This technique helps photographers separate their subject from what would otherwise be a busy and distracting background. The soft light also helps when you are photographing people. With the sun at a low angle, your subjects can be well front lit without causing them to squint or look away from the light.

